Portable LoRaWAN Mesh Relay Gateway: Raspberry Pi Zero Field Deployment
Understanding Mesh Limitations
Before you build a portable mesh relay, understand the constraint that governs everything else: ChirpStack Gateway Mesh is designed for sparse, low-density deployments. Every relay transmission consumes airtime, and in regions like EU868, strict duty-cycle rules (1% on most channels) cap how much traffic a relay can forward.
The math is simple. A relay receives an uplink and retransmits it toward the border gateway, so that's two transmissions per packet, and in a multi-hop chain airtime multiplies with each hop. Put too many devices behind a relay, or have them transmit too often, and you hit the duty-cycle ceiling. The relay becomes a bottleneck not because it runs out of processing power, but because it legally cannot transmit any more.
Mesh relays work well for devices transmitting infrequently, on the order of every 15 to 60 minutes, with sparse density behind each relay, meaning tens of devices rather than hundreds. They suit coverage extension into remote areas, and they suit field testing and temporary deployments, where nothing is being installed permanently in the first place.
Mesh is the wrong choice in the opposite conditions: high device density behind the relays, devices reporting every few minutes or faster, or a duty-cycle-regulated region already carrying heavy traffic, where the relay's own retransmissions eat the same airtime budget the devices need.
You can also set DevAddr prefix filtering to control which devices get relayed, so the relay doesn't waste airtime on traffic that should connect directly to other infrastructure.
Why Portable Relay Gateways Matter
Within those limits, portable mesh relays excel at exactly what they're for. A LoRaWAN mesh relay forwards packets from end-devices to a border gateway by LoRa-to-LoRa relaying, with no internet connection of its own, which makes it perfect wherever running power or backhaul is impractical: field testing, event coverage, remote monitoring, or proving coverage before you commit to a permanent install.
Pairing a Raspberry Pi Zero W with the Seeed WM1302 concentrator produces an extremely low-power relay. Add a mid-sized USB battery pack and it runs autonomously for days. Throw it in a backpack, hike to an elevated position, strap it to a tree to test a coverage gap, or drop it into a remote area with no infrastructure at all. When the test ends or you've gathered the data, retrieve it and move to the next spot.
Hardware Build
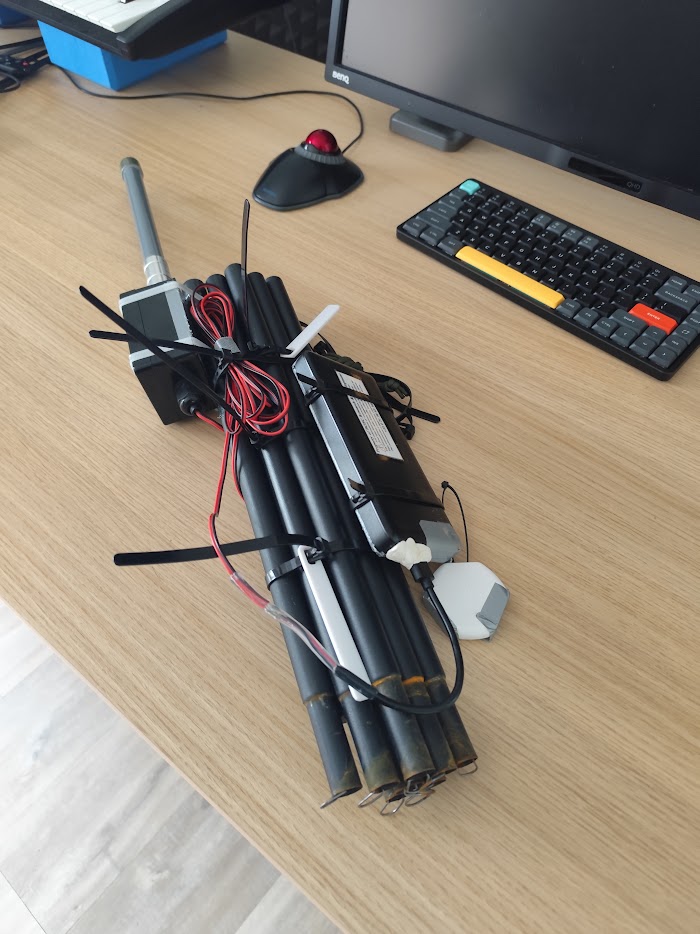
The parts list is short:
- Raspberry Pi Zero W
- Seeed WM1302 LoRaWAN Gateway Module (SX1302-based Pi HAT)
- USB battery pack (10,000-20,000 mAh typical)
- microSD card (16 GB minimum)
The WM1302 is built around the Semtech SX1302 baseband chip, the same concentrator found in modern commercial gateways, in a compact Pi HAT form factor. It integrates a GPS receiver (GPS L1, GLONASS L1, BeiDou B1) for accurate timing and location, and reaches -139 dBm sensitivity at SF12, matching or beating older SX1301 concentrators while drawing less power. It comes in EU868 and US915 variants, so order the right one for your region. At 56 × 65 mm it's one of the most compact concentrators available; the mini-PCIe module plugs into a Pi HAT adapter that connects to the Pi's 40-pin GPIO header.
The Pi Zero W gives you just enough compute for a relay without overkill: a 1 GHz single core with 512 MB RAM forwards packets comfortably. Its built-in WiFi and Bluetooth let you configure it over a web interface with no monitor attached, connect wirelessly, set it up, deploy, and the compact 65 × 30 mm board keeps the whole assembly backpack-sized.
Power draw is low enough that a consumer USB pack lasts for days. Real runtime depends on capacity, conversion efficiency, ambient temperature, and how hard the gateway is transmitting and receiving, but a 10,000-20,000 mAh pack typically runs several days continuously, so field tests don't need daily recharging.
ChirpStack Gateway OS Installation
ChirpStack Gateway OS is an OpenWrt-based embedded OS for LoRa gateways, and it bundles the ChirpStack Gateway Mesh component that provides the relay function.
Flashing it takes four steps:
- Download ChirpStack Gateway OS for Raspberry Pi from chirpstack.io
- Flash the SD card using Balena Etcher
- Insert the SD card into the Raspberry Pi Zero W
- Power on and wait for first boot (it creates a WiFi access point)
On first boot the gateway brings up its own access point, which is how you reach it:
- Gateway creates access point: "ChirpStackAP-XXXXXX"
- Default password: "ChirpStackAP"
- Connect to the access point
- Open the web interface: http://192.168.0.1
Turning it into a relay is done from the web interface:
- Open the LuCI web interface
- Go to ChirpStack Gateway Mesh configuration
- Enable relay mode (disable border gateway mode)
- Set the AES128 mesh signing key (same across all gateways in the network)
- Configure the LoRa concentrator (auto-detected for the WM1302)
- Set the frequency plan (EU868, US915, etc.)
- Save and reboot
The settings that matter end up looking like this:
[mesh]
enabled=true
signing_key="your-shared-aes128-key"

[mesh.relay]
enabled=true
No network server configuration is needed, since the relay only forwards packets between LoRa interfaces.
WM1302 HAT Setup
The WM1302 connects over mini-PCIe and the 40-pin header, and Gateway OS detects and configures it automatically. Physically, the module plugs into the mini-PCIe slot on the Pi HAT, the HAT sits on the Pi Zero W's 40-pin GPIO header, and power comes in through the Pi's standard micro-USB port. The GPS antenna is optional on its U.FL connector; the LoRa antenna on its U.FL connector is required.
The WM1302 ships with a basic antenna that's fine for initial testing and short range. For more range, fit a higher-gain antenna matched to your band, and keep it well clear of any metal enclosure, which attenuates RF badly. The cleanest arrangement is an external antenna on an extension cable, so the antenna sits outside a weatherproof enclosure while the electronics stay protected inside.
Field Deployment Strategy
The complete assembly, Pi Zero W, WM1302 HAT, battery pack, and enclosure, drops into a standard backpack and stays light enough for all-day fieldwork, so you can carry it to hilltops, clearings, or specific coverage gaps and test where a relay actually helps.
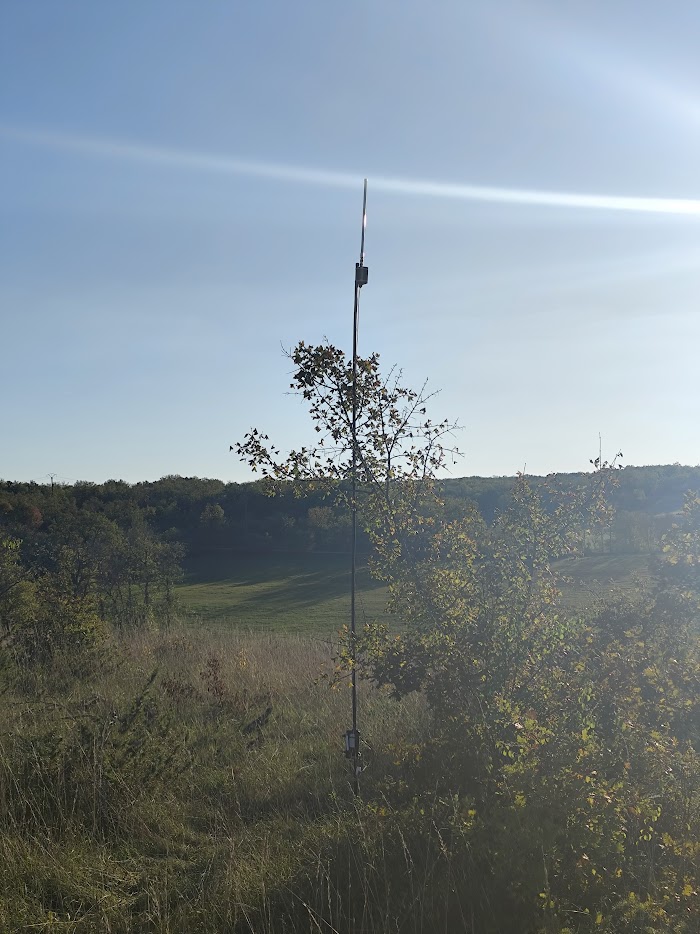
None of this needs permanent infrastructure. Velcro straps hold the gateway to a tree or pole, magnetic mounts grip metal structures like utility poles and building facades, and zip ties attach it to almost anything (check local rules before touching utility infrastructure); for ground-level tests, a weighted base keeps the wind from toppling it. Because the Pi Zero and WM1302 have no weatherproofing, outdoor use needs an enclosure, an inexpensive IP65 plastic box, a waterproof dry bag for quick tests, or a 3D-printed enclosure with cable glands for repeated use and clean cable routing. One thing is non-negotiable: keep the antenna connections weatherproof, because water ingress at the U.FL connector will kill the concentrator.
For positioning, height beats transmit power every time: lifting the gateway even a few meters off the ground improves range dramatically. Keep line of sight to the border gateway (or the next relay in the chain), since the relay-to-relay link depends on it, and stay out of dense foliage, which attenuates LoRa more than you'd expect. Test coverage thoroughly before you commit to any permanent install or hardware purchase.
Use Cases
Range Testing
Deploy the relay at increasing distances from the border gateway and measure packet success rate, RSSI, and SNR at each position to find the maximum reliable relay-to-border range.
- Start at the border gateway location
- Move the relay in 1 km increments
- Send test packets from an end-device
- Log packet reception at the border gateway
- Record RSSI/SNR values
- Map the coverage boundaries
Event Coverage
Stand up a temporary network for an outdoor event, festival, or construction site by placing relays to extend coverage from a permanent border gateway. At a music festival, for example, the border gateway sits in the main venue building with the internet connection, a first relay covers backstage 100 m away, a second covers the parking lot 500 m out, and the whole grounds are covered without running a single cable.
Remote Monitoring
For agricultural fields, environmental monitoring, or wildlife tracking, where there's no power or backhaul, deploy on battery first, then add a small solar panel and charge controller for extended or permanent operation. That solar addition turns a temporary battery deployment into long-term autonomous operation: the panel keeps the battery topped up, and in sunny climates the battery bank simply carries the nights and cloudy spells. The components are readily available and easily sized to the low draw of a Pi Zero gateway; a full solar-powered permanent mesh gateway build is covered separately.
Coverage Gap Filling
For urban dead zones (underground parking, dense building clusters), a temporary relay tells you whether a permanent install is worth it. A 3-4 day battery test with packet-success statistics settles it: if coverage clearly improves, install a permanent relay on PoE or solar; if it's marginal, try a different mounting location first.
Performance Characteristics
Relay-to-border range depends heavily on terrain, antenna height, and obstacles, with clear rural line-of-sight reaching far beyond an urban setting full of buildings; end-device-to-relay range follows normal LoRaWAN gateway behavior. The mesh protocol supports up to 8 hops in total (counting every relay in the chain), which allows extensive coverage extension across a large deployment.
Every hop adds latency from LoRa air time and packet processing. For typical sensor monitoring, where devices report every few minutes, that's fine; for real-time actuator control, the cumulative delay through several hops may be a problem, so test your specific case first. The mesh protocol also adds 14 bytes per uplink for encapsulation headers and message integrity codes, and since LoRaWAN's maximum payload shrinks at higher spreading factors, that overhead matters most at SF12 (longest range, smallest payload); plan your device payloads with it in mind. As for capacity, a single relay handles many devices at once, and what limits it is RF channel capacity and duty-cycle regulation (EU868's 1%), not the Pi Zero's CPU, which reaches its ceiling well after the airtime does.
Limitations and Considerations
Battery operation is temporary by nature, so a permanent relay needs a real power source: solar panel plus charge controller and a larger battery, PoE where Ethernet exists, or AC with a UPS. The Pi Zero itself isn't weatherproof and needs an enclosure, with the USB-power and antenna connectors protected from water. Unlike a border gateway, a relay has no internet link, so configuration changes mean physical access or a temporary WiFi connection. Its single-core 1 GHz CPU is plenty for forwarding packets but nothing heavier. And the Pi generates some RF noise, so keep the concentrator as far from it as the HAT form factor allows, and use shielded antenna cable on long runs.
There is a cheap way to soften the access problem: a small companion board in the same enclosure, a Heltec HTCC-AB02S CubeCell in my builds, joins the network as an ordinary LoRaWAN device, reports the battery level, and accepts a downlink to switch the Pi on and off. It costs very little, and it turns a hung relay from a site visit into a downlink.
Building Multiple Relay Gateways
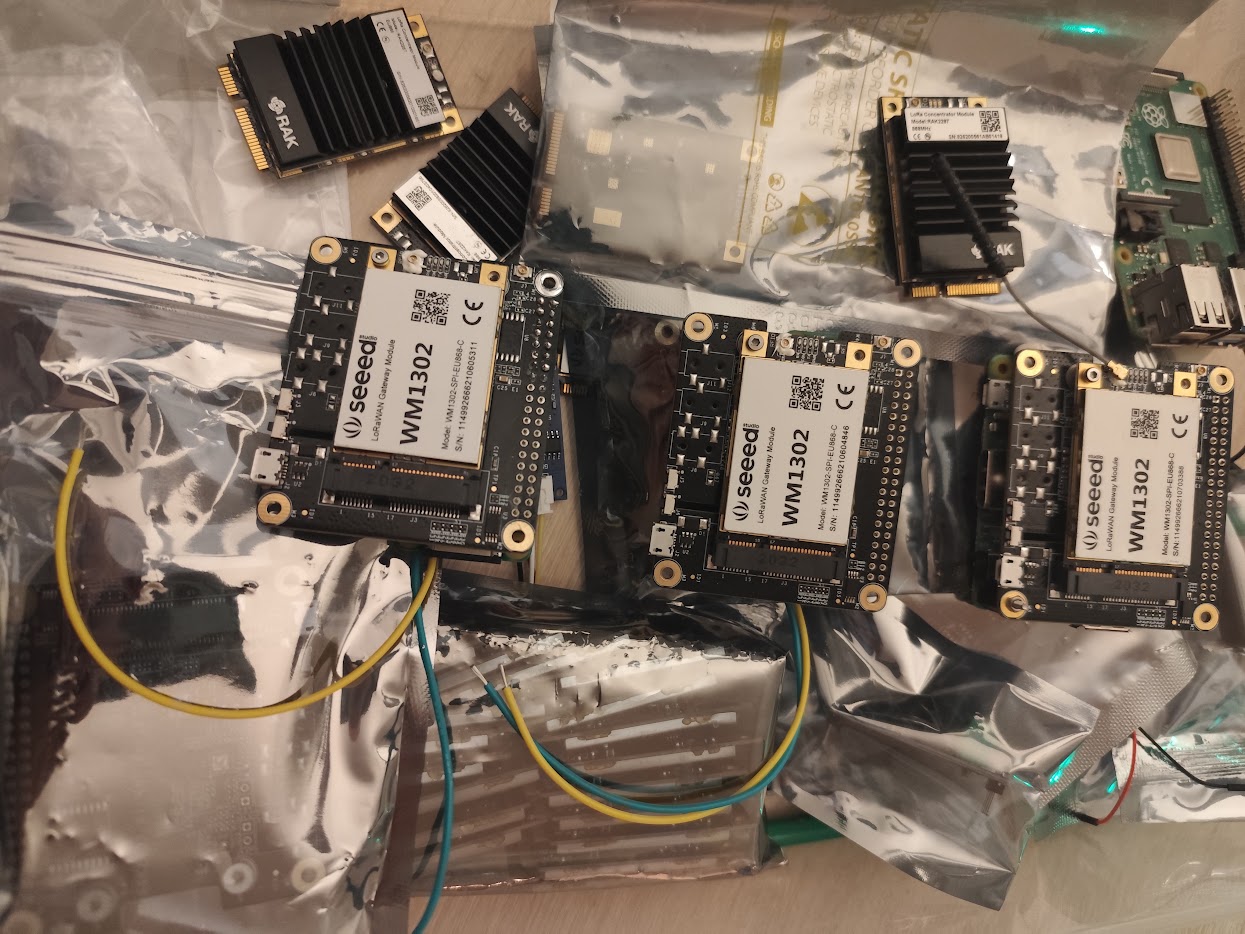
Building several identical relays streamlines testing and deployment. Clone one tested setup to pre-flash the microSD cards rather than configuring each unit by hand, label every gateway with a unique ID for tracking, store the shared mesh signing key securely (all gateways use the same one), and pack a portable test kit with a spare battery, antenna, and short cables for field troubleshooting.
The economics favour DIY heavily: a Pi Zero W and WM1302 cost a fraction of commercial relay hardware, and that gap widens with every unit, so building five or ten is far cheaper than the equivalent commercial solution, with both Raspberry Pi and Seeed products stocked by distributors worldwide. To scale, keep that single signing key across the network so any relay can talk to any border gateway, assign unique gateway IDs so you can tell which relay handled a given packet, standardize on one enclosure so mounting hardware can be prepared in advance, and document tested locations with GPS coordinates and photos for future reference.
Portable vs Permanent Relay Gateways
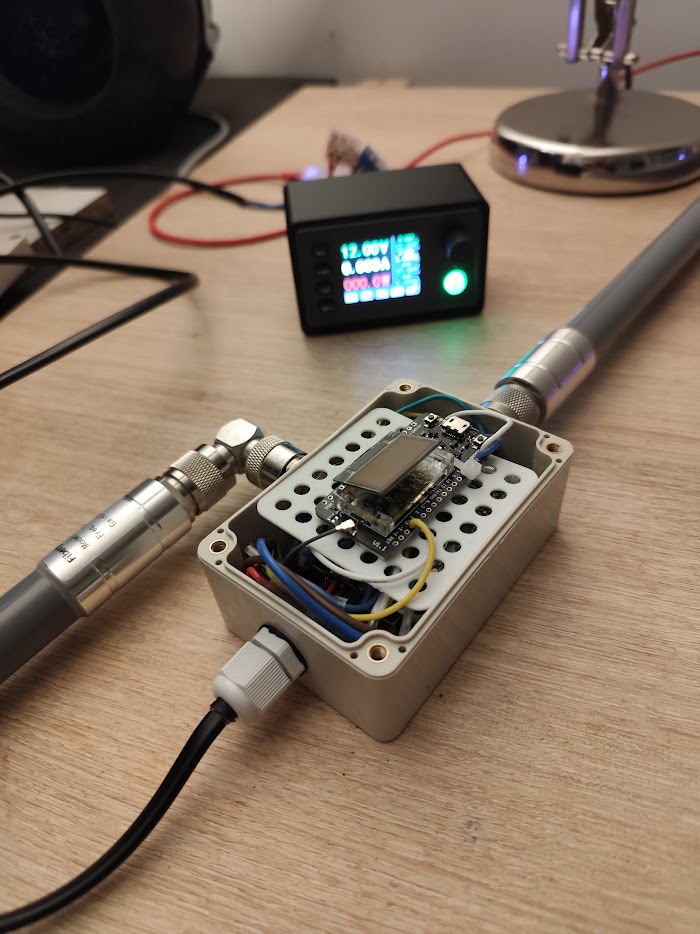
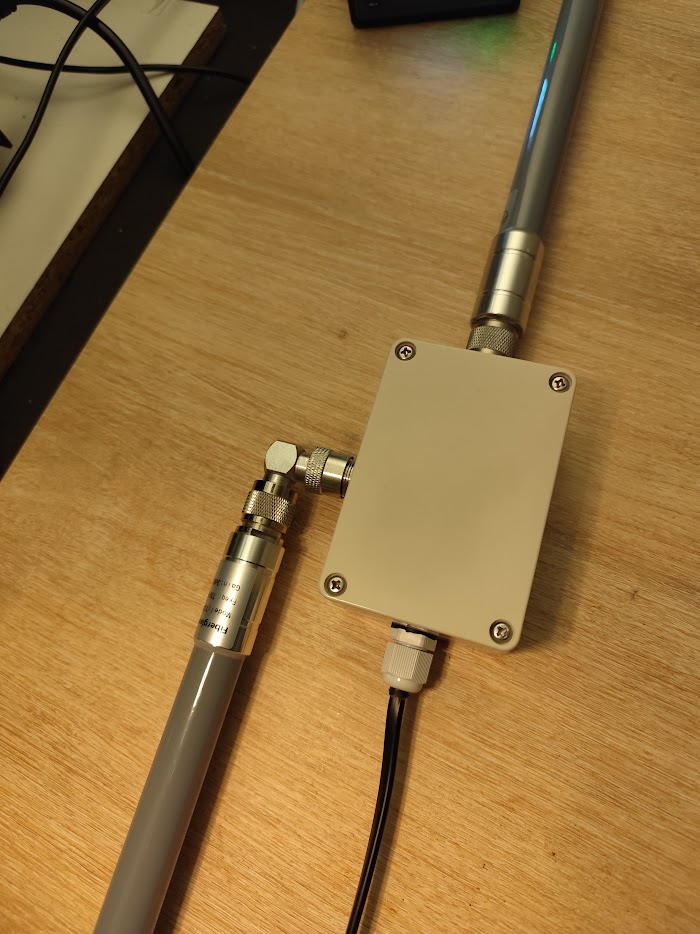
A portable relay proves the concept: it tests coverage before you invest in a permanent install, gives you flexible positioning during optimization, covers temporary events and short-term projects, and costs less upfront with no solar or mounting infrastructure. Move to a permanent relay once the case is made, a proven coverage benefit over a 3-4 day test, a consistent packet-success improvement, a location that suits solar or PoE, and a long-term application to justify it.
A permanent install then needs the things a backpack unit skips: reliable long-term power (solar with a charge controller and a properly sized battery bank where there's no grid, or PoE where Ethernet reaches, though relay sites rarely have it), an IP65-or-better weatherproof enclosure, secure mounting on a pole, bracket, or mast to deter theft and weather, and lightning protection for anything elevated and exposed. Portable relays gather the field data; permanent relays scale the solution for the long run.
What I Provide
If you'd like help building relays like this, or deciding whether mesh is the right answer to your coverage problem at all, that's work I take on regularly: relay design and assembly guidance, ChirpStack Gateway OS and mesh configuration, deployment planning and positioning, power system design from battery through solar to PoE, and integration with your existing LoRaWAN infrastructure. You keep the build documentation, configuration files, scripts, and any custom code, with no recurring fees. I don't sell hardware; I specify what to buy, from the Pi and concentrator down to enclosures and antennas, and help you turn the parts into relays that reliably extend your network.
Working on a LoRaWAN project?
If this article touches on something you're building, tell me about it. The first conversation is free, and you'll get an honest read on the right approach for your situation.
Book a Free ConsultationCurious what the finished thing looks like? Open the live demo dashboard