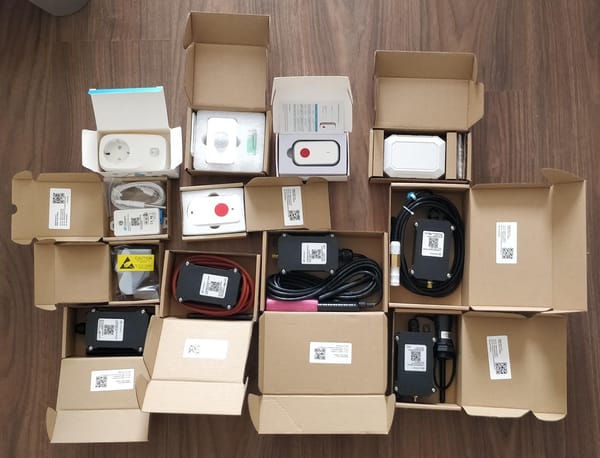
3D Printed Mounts for LoRaWAN Sensors
Why 3D Print Mounts
Commercial weather station mounts cost far more than a printed alternative and never fit quite right. A custom printed mount is lighter, fits perfectly, and you can iterate the design in hours instead of waiting weeks for a supplier to make and ship a standard bracket.
The scenario comes up constantly: you need to mount an anemometer on 32 mm galvanized pipe at a specific angle to clear a solar panel, and no commercial bracket exists for that combination. Design it in FreeCAD, print it overnight in ASA, install it the next day, at a fraction of the material cost of the commercial option.
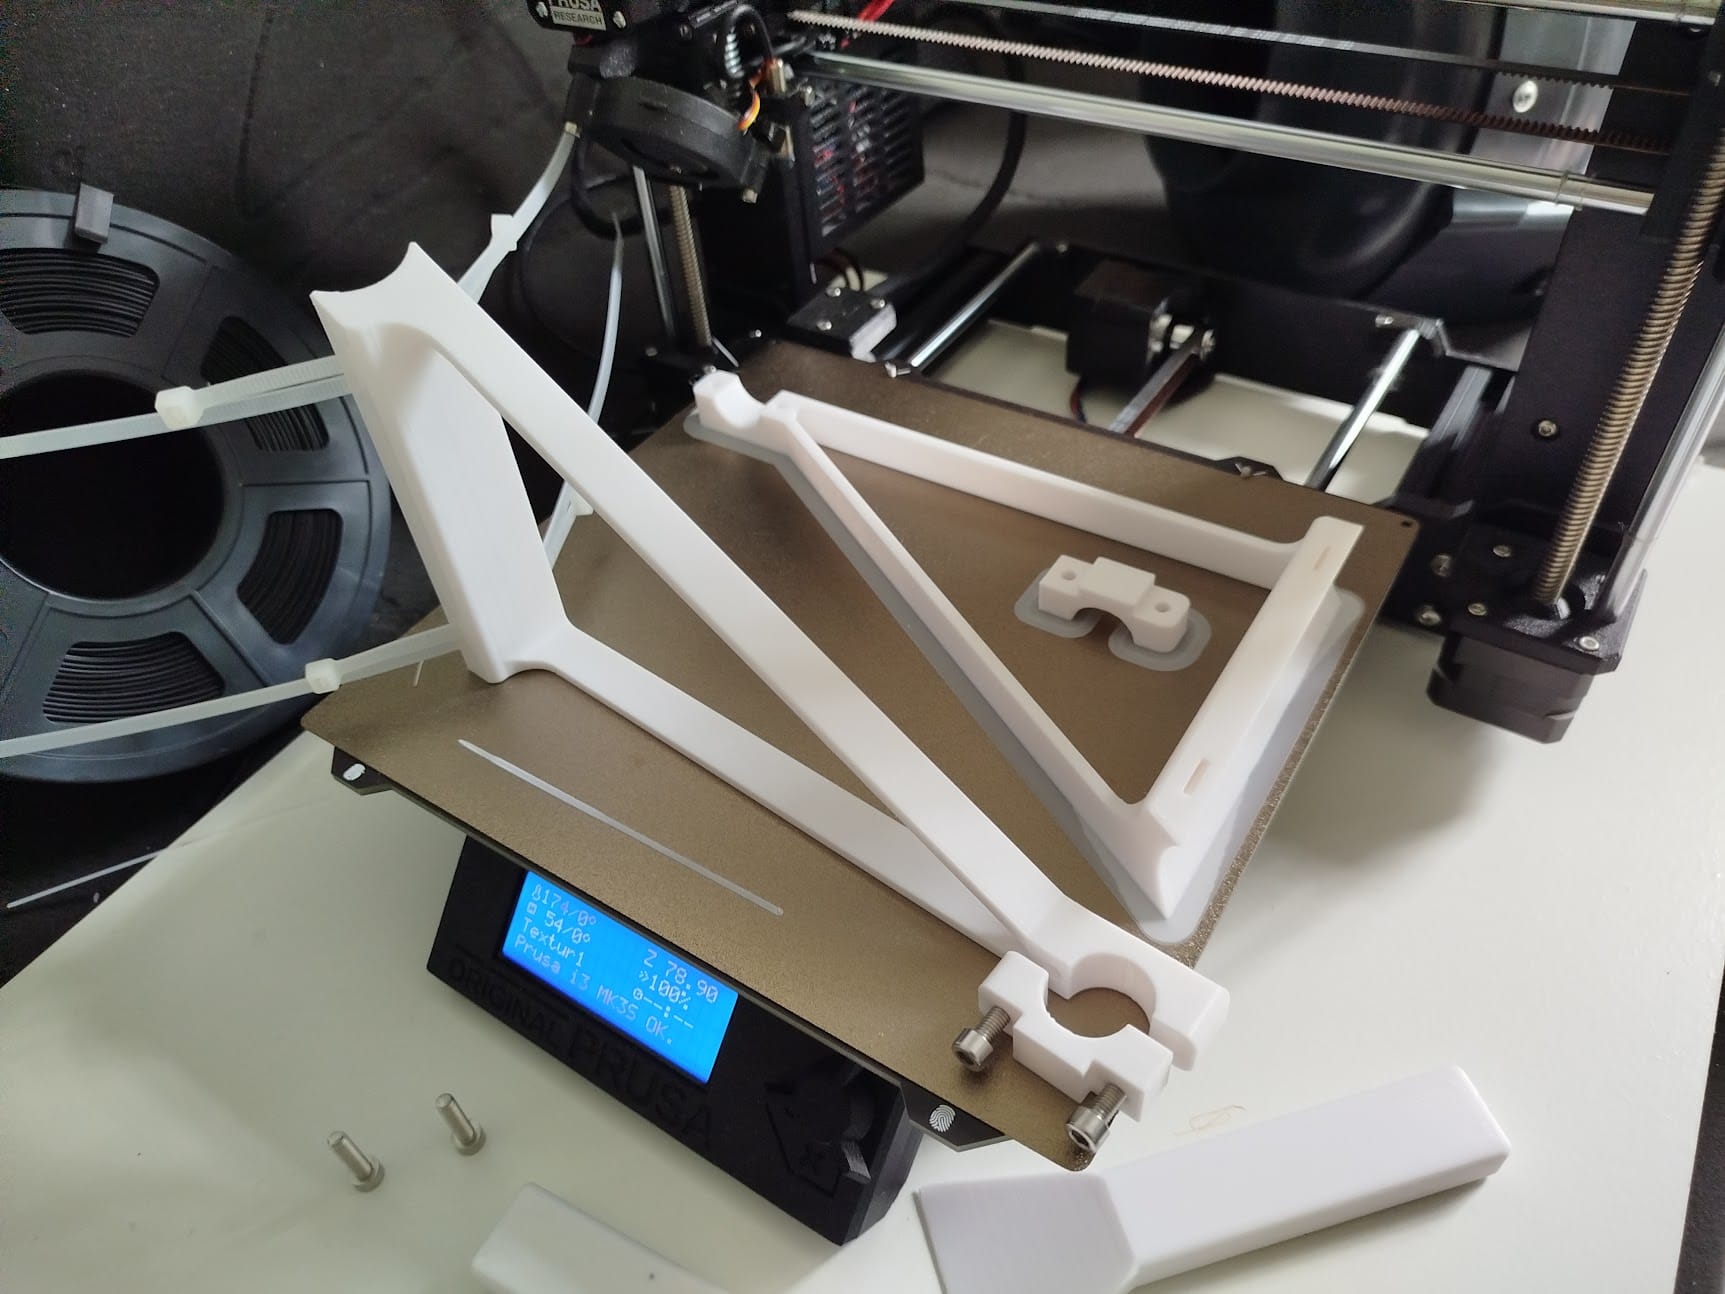
What I Design and Print
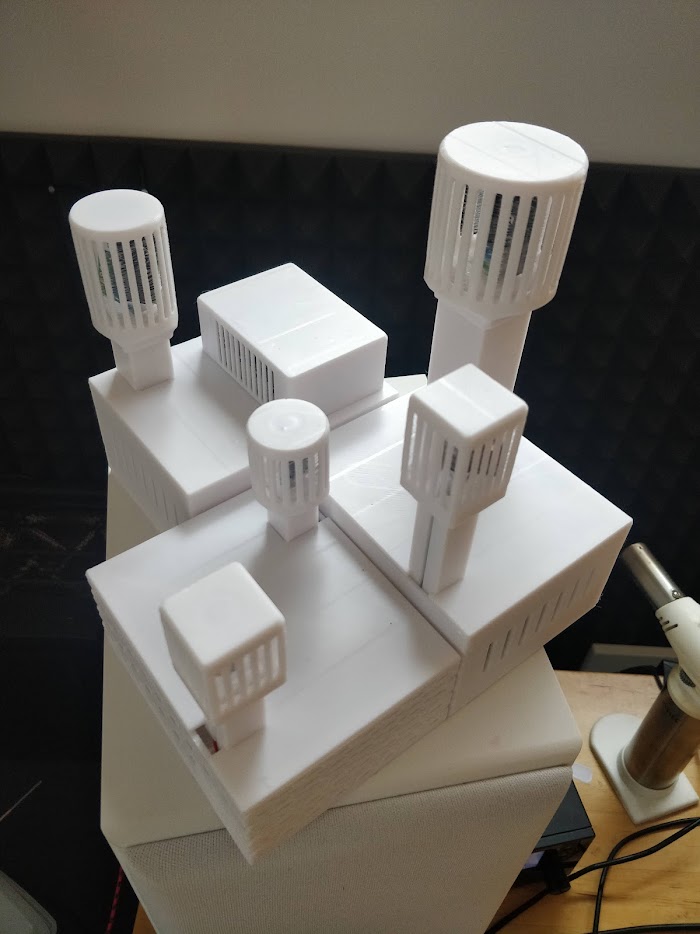
Sensor mounts cover the common needs: pole mounts for standard 25-60 mm pipe that fit most utility poles and agricultural infrastructure, indoor wall and ceiling brackets where aesthetics and cable management matter, adjustable-angle mounts that position an anemometer to clear a solar panel or roof edge, and multi-sensor platforms that combine temperature, humidity, and pressure into a single weatherproof housing to cut installation complexity.
Gateway enclosures are custom-fitted to specific models (SenseCAP, Dragino, and others), protecting the electronics while allowing antenna mounting and heat dissipation. Outdoor housings integrate cable glands to keep moisture out, battery compartments get ventilation slots to vent hydrogen from lead-acid cells while keeping electronics dry, and brackets are shaped to the actual install, whether wall, pole, or DIN rail.
Cable management rounds it out: clips and guides route antenna cable cleanly along a pole or wall to prevent wind damage, strain-relief components protect connections from repeated flexing in wind, and printed weatherproof cable entries seal an enclosure while passing cable through, holding the IP rating without expensive commercial glands.
Material Selection
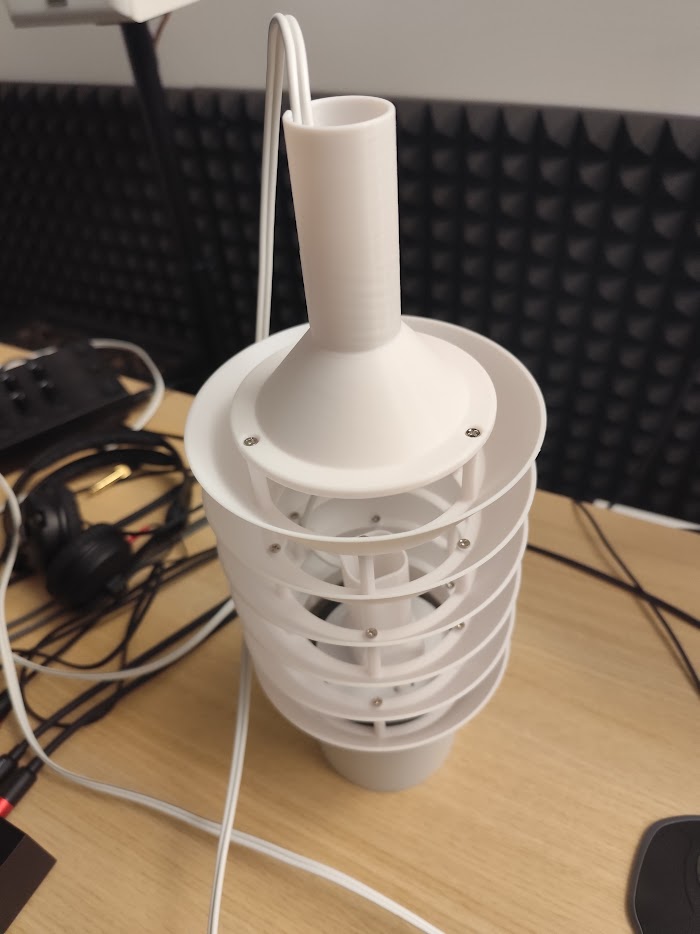
The right filament depends almost entirely on sun and heat exposure.
PLA is cheap and easy to print, and the usual advice is to keep it indoors, since it deforms above 50°C. White PLA+ is the exception, and it has surprised me. Printed as one genuinely solid piece, it has held up outdoors well above 40°C, through the 2026 heat wave included.
Two things make that work, and the color is doing more of the job than most people expect. White pigment reflects sunlight rather than absorbing it, so very little of the radiation striking the bracket ever becomes heat inside it. Black and colored filaments do the opposite: they absorb that energy and convert it, and the part climbs well above the surrounding air temperature while sitting in the same sun on the same pole. That gap is what actually deforms brackets, which is why the air temperature on the forecast tells you so little. The same geometry in black PLA+ would have failed in the heat wave that the white one came through untouched.
The second factor is in the slicer rather than the filament. Set vertical shells, perimeters, to 999 and the walls grow inward until they meet, so the part comes out solid all the way through with no infill lattice inside it to soften and let the geometry sag. The two things that kill it are contact with something that gets hot, and sitting under glass or clear plastic, where the greenhouse effect takes the part far past the air temperature. Away from both, it lasts. Plain PLA stays indoors for prototyping and interior brackets.
PETG is my default for anything that goes outside, and the best general-purpose choice: weather-resistant, UV-stable and strong, handling temperature extremes far better than PLA without the printing difficulty of ASA, for a modest cost premium.
ASA does better still on UV, surviving direct sunlight for years, but it wants an enclosed printer because of the styrene fumes. Use it for permanent outdoor installs where sun exposure is unavoidable and you would rather not revisit the part.
TPU is the flexible one, rubber-like and slower to print, which makes it right for gaskets, vibration damping and protective bumpers where a little give either prevents damage or improves a seal.
ABS is impact-resistant with high temperature tolerance but warps easily, and since PETG and ASA offer similar properties with far less trouble, ABS is worth reaching for only when impact resistance genuinely outweighs the printing difficulty.
Why It Makes Sense, and Where It Doesn't
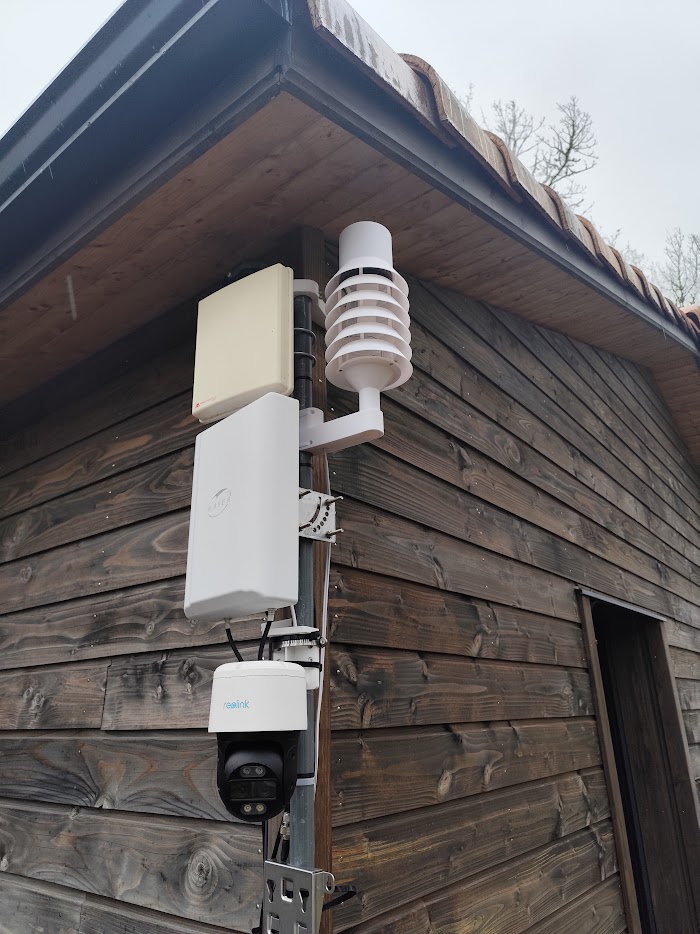
The case for printing is iteration, fit, and weight. Spot a design flaw during a test fit and you fix it in CAD and reprint overnight, against a 3-4 week minimum lead time from a supplier. Every install is different, pipe diameters, angles, and clearances all vary, and printing handles the one-off requirements that injection molding can't justify. Printed parts also use 20-50% less material than machined equivalents, which matters for a pole-mounted sensor where weight affects stability, and they can carry geometry, internal cable channels, integrated clips, threaded inserts, that traditional manufacturing would need multiple assembled parts to achieve.
The limits are just as clear. High-stress structural loads belong in aluminium or steel; printing is for brackets, housings, and adapters, not structural members. Layer lines are visible, so parts are functional rather than cosmetically smooth. The economics work for 1-100 units, beyond which injection molding wins on per-unit cost. And even ASA degrades in direct sun eventually, though an outdoor part lasts several years and then simply gets reprinted at minimal cost rather than sourced as an expensive commercial replacement.
The Design Process
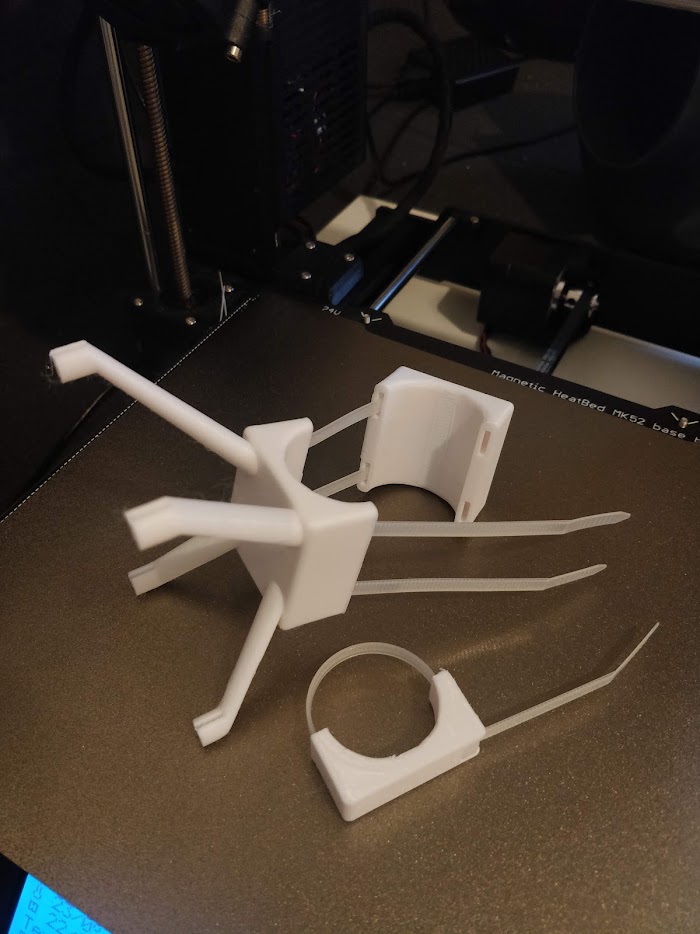
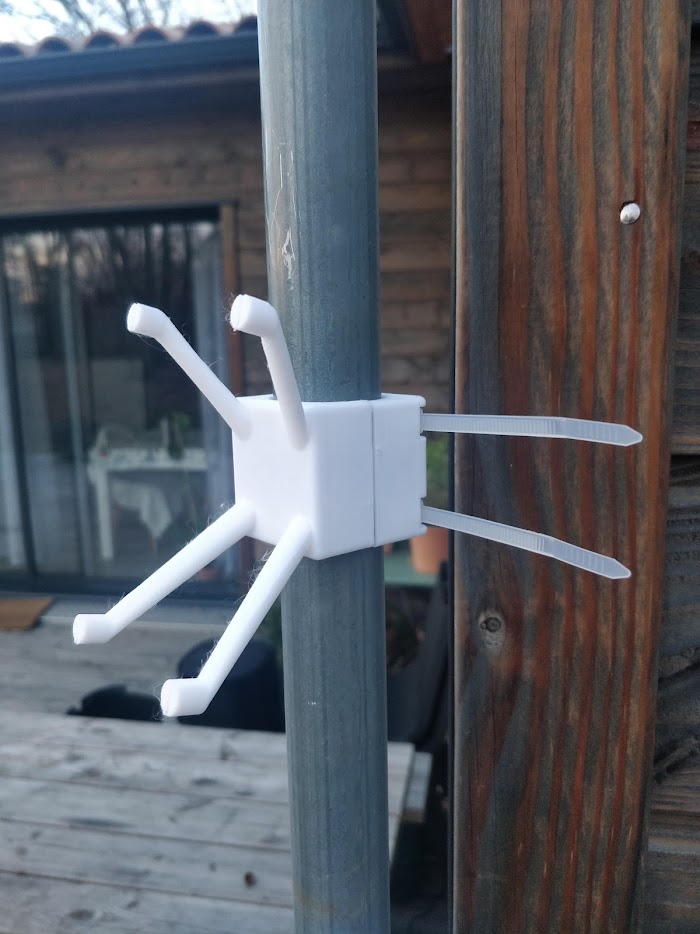
- Spec gathering. Photos of the site, measurements of the mounting surface or pipe, clearance requirements, and environmental conditions (UV, temperature extremes).
- CAD design. Modeled in FreeCAD (open source) or Fusion 360, designed for printability, avoiding overhangs beyond 45° and adding print-in-place hinges where useful.
- Test print. The first version almost always needs tweaks; test-fit, revise, and repeat, usually 2-3 iterations to a perfect fit.
- Final production. Once proven, print the quantities you need, typically 1-10 per project.
- Files delivered. You get the files to print yourself or hand to a local print service; the design is yours to modify and reprint.
Print Settings That Matter
Layer height sits at 0.2 mm as standard, dropping to 0.3 mm for rough parts you want off the bed quickly, or 0.1 mm for fine detail that mounts rarely need. Infill at 20% carries most brackets and 40% covers high-stress parts, while 100% just burns material and time for no useful gain. Perimeters matter more than either: three to four walls minimum on outdoor parts, because strength comes from the shell far more than from what is inside it, and perimeters set to 999 for anything in PLA+ that has to hold its shape in the sun. And orienting a part thoughtfully to avoid supports is worth the extra minute of thinking, since supports waste plastic and leave a rougher finish behind.
What I Provide
I design custom mounts and enclosures for specific installations: material selection for the environment, CAD models optimized for printing (minimal supports, no unprintable geometry), recommended print settings for your material and printer, and design iteration based on test-fit feedback. You get the editable STEP files, print-ready STLs, settings documentation, and installation instructions, with full rights to modify, reprint, or manufacture the designs.
I design the parts; you handle printing and production, yourself if you have the equipment, or through a local print service. That keeps costs minimal, avoids international shipping delays, and means you're never dependent on me for a replacement or a change.
Working on a LoRaWAN project?
If this article touches on something you're building, tell me about it. The first conversation is free, and you'll get an honest read on the right approach for your situation.
Book a Free ConsultationCurious what the finished thing looks like? Open the live demo dashboard